Installation
In this page, we provide the installation procedure for the ChoiRbot package. In the first part of the page we detail the procedure to install ChoiRbot from scratch. We strongly recommend to run ChoiRbot in a Docker container, please see the section Docker Installation.
Toolbox download and build
The ChoiRbot toolbox currently supports ROS 2 Jazzy Jalisco. Please refer to the ROS 2 website for a comprehensive tutorial on how to install ROS 2. We suggest to perform the Desktop Install of ROS 2, which provides useful tools such as RVIZ.
Create a ROS 2 workspace folder:
mkdir -p ~/choirbot_ws/src
cd ~/choirbot_ws/src
To download ChoiRbot, clone the package repository:
git clone --recursive https://github.com/OPT4SMART/ChoiRbot.git .
Installation of required Python packages
Create a Python virtual environment, if you don’t refer to the official guide.
ChoiRbot requires a set of Python packages, including also the DISROPT package, that can be installed by running
(inside the src/docker directory of your workspace):
pip3 install --upgrade pip
pip3 install -r requirements.txt
pip3 install --no-deps disropt
Installation of Gazebo and Turtlebot3 files
ChoiRbot allows yo to easily simulate a team of Turtlebot3 mobile robots. You just need to install Gazebo Harmonic via
sudo apt-get install ros-${ROS_DISTRO}-ros-gz
Then, you have to clone the ROS 2 workspace provided here (Gazebo Simulation tab) and add to the .bashrc file the following lines (notice that the paths may need to be adjusted according to your current installation).
export TURTLEBOT3_MODEL=burger
source ~/turtlebot3_ws/install/setup.bash
export ROS_DOMAIN_ID=30 #TURTLEBOT3
Installation of Webots
To install Webots R2025a follow the official guide here.
Building package
Finally, build your workspace:
cd ~/choirbot_ws
rosdep install --from-paths src -y --ignore-src
colcon build --symlink-install
Docker Installation
Follow this instructions to dockerize the ChoiRbot repository by building a Docker image and creating a Docker container.
Prerequisites
This Docker utils has been tested on the following configuration:
- ✅ Nvidia Driver 575.57.08
- ✅ CUDA 12.9
- ✅ Docker 28.2.2
- ✅ Docker Compose 2.36.2
- ✅ NVIDIA Container Toolkit CLI 1.17.8
- ✅ Ubuntu 24.04 LTS Noble Numbat
Nvidia drivers
| ⚠️ Do you have a dedicated NVIDIA GPU? |
|---|
| If not, just install docker following the official guidelines and jump directly to the Building the Docker Image section. |
| If you have a dedicated NVIDIA GPU, follow the instructions below to install the NVIDIA drivers and the NVIDIA Container Toolkit. |
Check your NVIDIA driver version:
nvidia-smi
The output should be something like this:
+---------------------------------------------------------------------------------------+
| NVIDIA-SMI 575.57.08             Driver Version: 575.57.08   CUDA Version: 12.9     |
|-----------------------------------------+----------------------+----------------------+
| GPU  Name                 Persistence-M | Bus-Id        Disp.A | Volatile Uncorr. ECC |
| Fan  Temp   Perf          Pwr:Usage/Cap |         Memory-Usage | GPU-Util  Compute M. |
|                                         |                      |               MIG M. |
|=========================================+======================+======================|
|   0  NVIDIA GeForce GTX 1050        Off | 00000000:01:00.0 Off |                  N/A |
| N/A   63C    P3              N/A /  14W |    534MiB /  4096MiB |      0%      Default |
|                                         |                      |                  N/A |
+-----------------------------------------+----------------------+----------------------+

+---------------------------------------------------------------------------------------+
| Processes:                                                                            |
|  GPU   GI   CI        PID   Type   Process name                            GPU Memory |
|        ID   ID                                                             Usage      |
|=======================================================================================|
|  No running processes found                                                           |
+---------------------------------------------------------------------------------------+
If not, install the driver and CUDA followinf the official guide here, then restart the pc.
Now, run
glxinfo | grep "OpenGL"
to check if a hardware accelerated driver is installed. The output should be:
OpenGL vendor string: NVIDIA Corporation
OpenGL renderer string: NVIDIA GeForce GTX 1050/PCIe/SSE2
OpenGL core profile version string: 4.6.0 NVIDIA 575.57.08
OpenGL core profile shading language version string: 4.60 NVIDIA
OpenGL core profile context flags: (none)
OpenGL core profile profile mask: core profile
OpenGL core profile extensions:
OpenGL version string: 4.6.0 NVIDIA 575.57.08
OpenGL shading language version string: 4.60 NVIDIA
OpenGL context flags: (none)
OpenGL profile mask: (none)
OpenGL extensions:
OpenGL ES profile version string: OpenGL ES 3.2 NVIDIA 575.57.08
OpenGL ES profile shading language version string: OpenGL ES GLSL ES 3.20
OpenGL ES profile extensions:
If in the first two lines your NVIDIA card does not appear, then try to select it as the prime GPU with
sudo prime-select nvidia
then, restart your pc.
Docker and NVIDIA Container Toolkit
Check your docker version.
docker --version
NOTE: if docker is not installed, follow the official guidelines.
Check also the NVIDIA Container Toolkit.
nvidia-ctk --version
NOTE: if nothing appears, follow the official guidelines to install the NVIDIA Container Toolkit
If everything is ok, you can start playing with Docker!
Building the Docker Image
Before building the Docker image, make sure you have cloned the ChoiRbot repository in a directory named choirbot_ws/src/.
NOTE: If not, clone the repository as follows:
mkdir -p ~/choirbot_ws/src
cd ~/choirbot_ws/src
git clone --recursive https://github.com/OPT4SMART/ChoiRbot.git .
Before building the Docker image, make sure to edit the variables in the .env file, which will be used by the Docker Compose setup.
About the .env file
The .env file contains environment variables that configure the Docker build and container setup. Here’s a description of each variable:
- IMAGE_PATH: The absolute path to the directory containing your Docker context (typically the path to the
choirbot_ws/srcfolder). - IMAGE_NAME: The name and tag for the Docker image you want to build (e.g.,
choirbot:jazzy). - CONTAINER_NAME: The name to assign to your Docker container (e.g.,
choirbot_dev). - WS_NAME: The name of your ROS 2 workspace inside the Docker container (e.g.,
choirbot_ws).
Example .env file:
IMAGE_PATH=/path/to/choirbot_ws/src
IMAGE_NAME=choirbot:jazzy
CONTAINER_NAME=choirbot_dev
WS_NAME=choirbot_ws
Adjust these variables as needed for your setup before proceeding.
Build Docker image
To build our Docker image for ChoiRbot, execute the following command in the terminal from the root directory of the repository:
docker compose -f choirbot_ws/src/docker/compose.yaml build dev
| ⚠️ Do you have a dedicated NVIDIA GPU? |
|---|
If not, instead of compose.yaml use compose_no_gpu.yaml |
This command runs the Dockerfile and uses the .env file, both located in the choirbot_ws/src/docker.
The building process can take a while (10-20mins), so be patient!
Creating a Docker Container
After the image is built, create a Docker container with the following command:
xhost + && docker compose -f choirbot_ws/src/docker/compose.yaml up -d dev
where dev is the name of the service inside the docker compose file. This will create and start a Docker container in detached mod.
Once the container is created, you can start exploiting the toolbox.
Running the Docker Container
If you have already created the container, you can start it by running the following command:
docker compose -f choirbot_ws/src/docker/compose.yaml start dev
Then, you can open a shell in the container by running the following command:
docker compose -f choirbot_ws/src/docker/compose.yaml exec dev bash
This command opens an interactive shell in the container, allowing you to run commands and receive output from the container.
Running the ChoiRbot Examples
Once you have opened a shell in the container, you can run the ChoiRbot examples by following these steps:
colcon build --symlink-install
source install/setup.bash
ros2 launch choirbot_examples formationcontrol_ca_webots.launch.py
Your monitor should display something like that
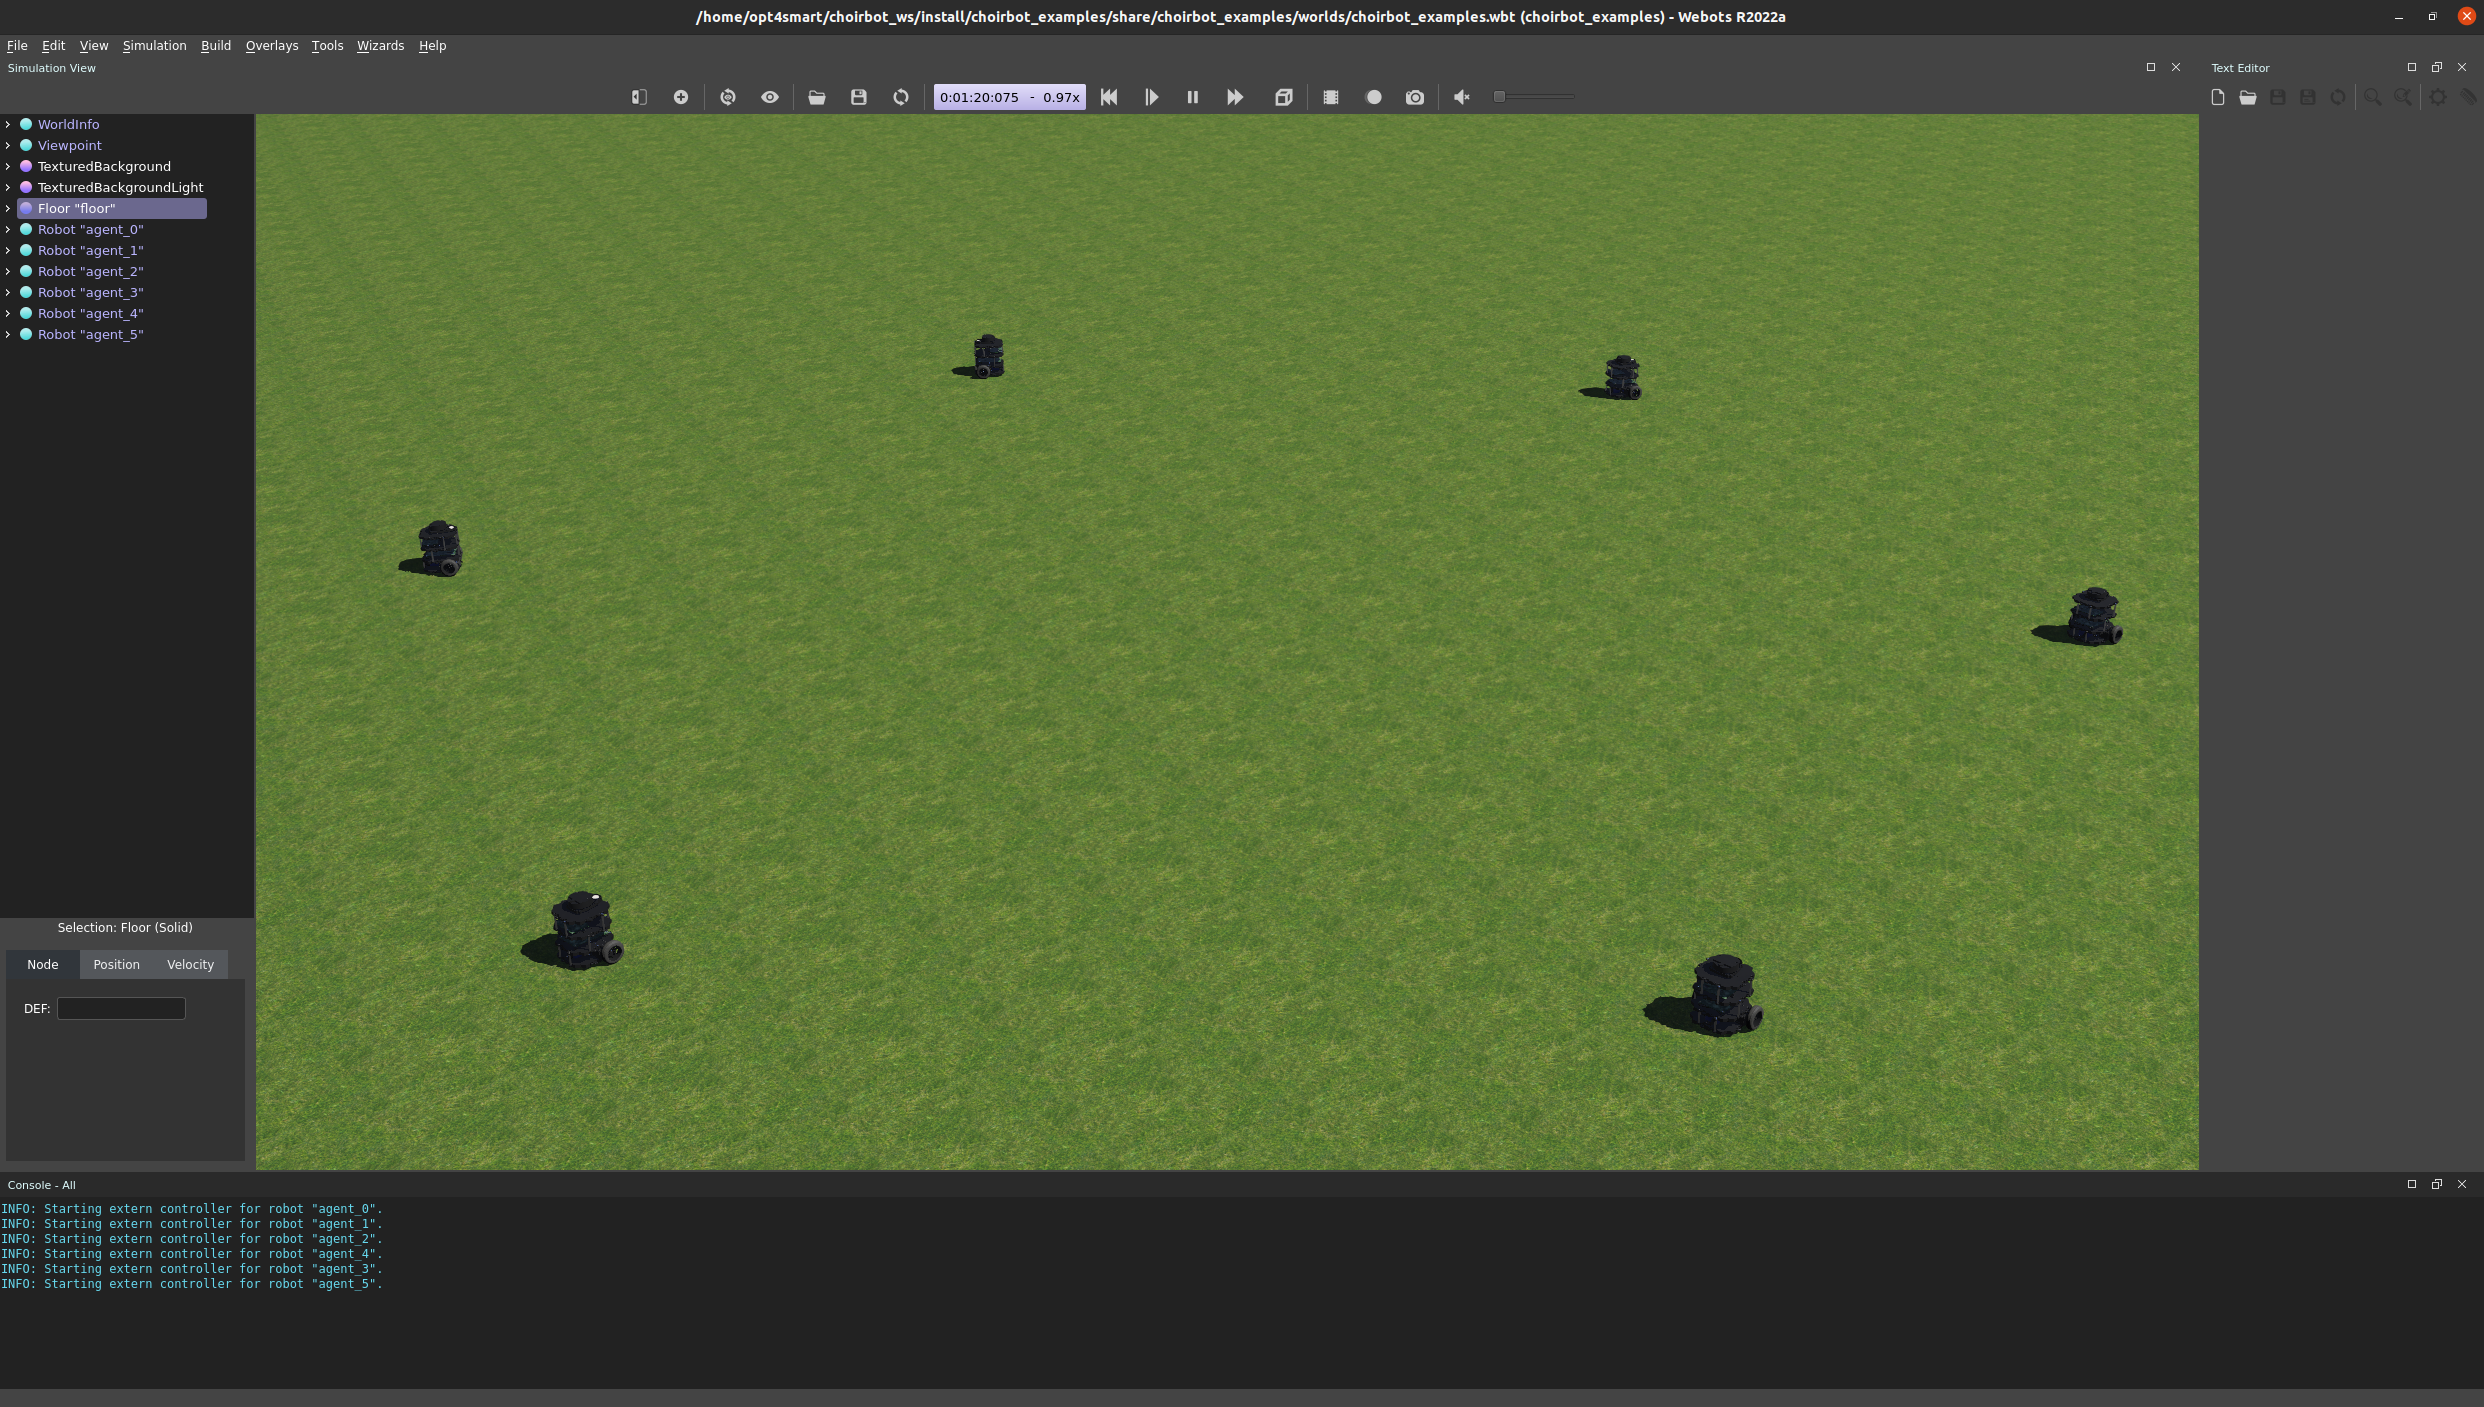
Have fun! 🚀